To Rasterize in illustrator means to convert a vector graphic, which is made up of paths and anchor points, and converting it into a raster image, made of pixels. Vector graphics are visual representations of mathematical formulas and are easily manipulated using the tools available in Adobe Illustrator and do not lose quality with enlargement.
Raster images are like jpgs and pngs; they are best suited for pixel-based editing software like Photoshop. These images lose quality when enlarged. If you zoom into a vector on Illustrator, the edges and lines remain sharp, but if you zoom in on a rasterized image, the edges become jagged or pixelated.

Should you rasterize objects in Illustrator?
Rasterizing objects in Illustrator is mostly done when you need to open a vector graphic with a program that doesn’t support vector images, therefore you rasterize it to convert it into a jpg or png. However, Illustrator has export features that allow you to save and share your images as rasterized/bitmap images once you are done working, so there’s rarely ever a need to rasterize your work on Illustrator before you are done with it.
Rasterizing is also hard to reverse especially if your vector is very detailed and you rasterized it in low quality. If you need to export your vector to Photoshop, you don’t need to rasterize it in Illustrator. You can just copy and paste it into Photoshop and you’ll have the option to convert it there or work with it as a smart/linked object.
Another reason for rasterizing in Illustrator is when working with text. You may rasterize text in Illustrator so that when you share the design to a computer that doesn’t have the specific font, the person may still be able to view the text object.
However, if you use this method, the text will become pixelated and lose quality if enlarged. The best way to go about it, rather than rasterize the text, is to expand the text object in Illustrator which will turn it into a vector outline. It will not be editable as a text anymore, just as when you rasterize it, but as a vector, the text won’t lose quality when enlarged on screen or in print.
How to rasterize in illustrator without losing quality
To rasterize a vector in Illustrator without losing quality:
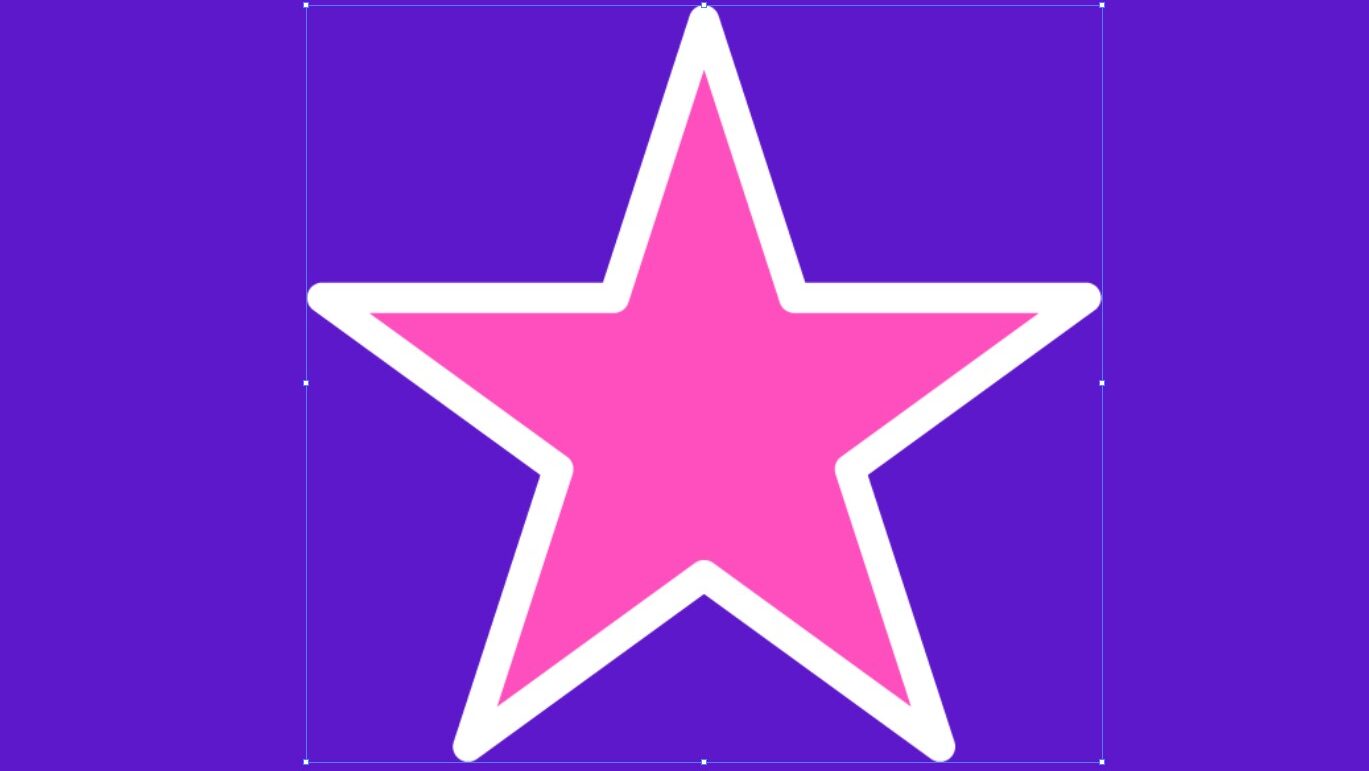
- Select the vector or text you want to rasterize using the selection tool (v). Hold down shift as you select if you want to rasterize several objects into one image. The dimensions of your objects on your artboard are the dimensions they will rasterize to. Therefore if you transform them to a larger size before rasterizing, you will get a higher resolution image.
- Copy your vectors on another artboard, file, or hidden layer. This is so you can access them as vector files later if you need to. The rasterize process is permanent and irreversible once you’ve saved your file.
- Go to Object>Rasterize…

- A window will pop-up with the rasterize options. Select the color mode you want your rasterized object to have. The default will match your original document color mode. So if you set it up as CMYK, the default will be CMYK. The same goes for RGB. You will have two other options in either scenario; Grayscale and Bitmap.
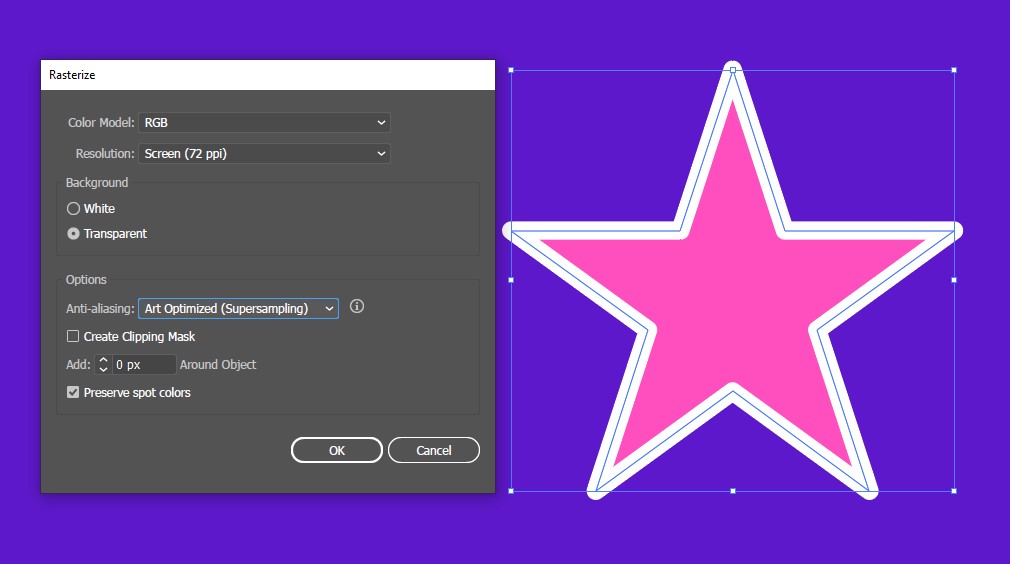
- Choose your resolution. 300 PPI is best for printing purposes and 72 PPI is best for viewing on screens and sharing online. You can choose “other” if you wish to set your own specific resolution. “Use document raster effect resolution” will match your rasterized image’s resolution to that of your working document.
- Choose whether you want a white background or a transparent one. These don’t affect your image’s final quality.
- Select the best anti-aliasing option for you. Anti-aliasing smooths out and blurs rough edges by adding pixels around the edges and color boundaries when rasterizing your image. (see below)
 This prevents your curves and diagonals from looking jagged and unnatural. If you select “None“, the edges will be crisper but curves or diagonal lines will appear jagged. (see image below)
 “Art optimized” anti-aliasing will add this effect to your shapes but is not recommended for texts. “Text-optimized” is best suited for rasterizing text to the best quality. You can play around with these settings and undo the raster if you don’t like the result.
 - Leave the other settings as default and click “Ok”. Your object is now rasterized.
If you don’t notice any difference, that’s a good sign that your image has rasterized in high quality. If you zoom in you’ll notice the pixels. Your rasterized image won’t have paths and anchor points like vector objects.

You may also like to read How to remove recent files in Illustrator CC
How to undo rasterize in Illustrator
Rasterizing is a destructive process, meaning you may not be able to reverse it once you’ve saved the document or made too many steps forward since the rasterize command. You can undo rasterize in Illustrator by using the Undo function (Ctrl+Z). However, you’ll lose every step you made from the time you rasterized.
If you had already saved your document with the object rasterized, your only option to turn it into a vector is through Image trace. Go to Image trace>High Fidelity Photo. Then click “Expand”.
The new vector will not be of the same high quality as it was before you rasterized it, and any paths, gradients and brushes will not appear the same or be editable with their respective tools and options.
The best thing to do moving forward is to avoid being in a situation where you have to undo a rasterized object. Make sure to duplicate or save the vector elsewhere or in a hidden layer before you choose to rasterize.
If you are rasterizing an object in illustrator to edit in Photoshop, this is not necessary since you can copy (ctrl/cmd+c) and paste (ctrl/cmd+v) vector objects from Illustrator directly onto Photoshop.
How to rasterize font in Illustrator
Rasterizing text will turn it into a pixelated non-scalable image that is not a vector. You can still share your text as vectors by expanding instead of rasterizing. To rasterize a font/text in illustrator:
- Select the text you want to rasterize using the selection tool (v).
- Go to Object>Rasterize…
- A window will pop-up with the rasterize options. Select the color mode you want your rasterized text to have. The default is the same as your document settings.
- Choose your resolution. 300 PPI is best for printing purposes and 72 PPI is best for viewing on screens and sharing online.
- Choose whether you want a white background or a transparent one. These don’t affect your image’s final quality.
- Select “Text-optimized” in the anti-aliasing drop-down options.
- Leave the other settings as default and click “Ok”. Your text is now rasterized.
Final word
You may also be interested in finding out: What Does Expand Do In Illustrator?
I hope you found this article helpful. Subscribe to my mailing list and be the first to get helpful graphic design tips and resources.

4 thoughts on “What Does Rasterize Mean In Adobe Illustrator? ANSWERED!”
Comments are closed.